On your Moodle page, turn on the Edit mode. The Edit mode button is found at the upper right of your screen. A red + button will appear when the mouse hovers over areas; click on the + button and add your activity.

In the window that appears, type “H5P” into the search bar and select the “H5P” option from the list of activities.

This will bring you to the activity creation page where you can name the activity and access other editing options. To create the actual H5P content select the “content bank” link to take you to your H5P content bank.

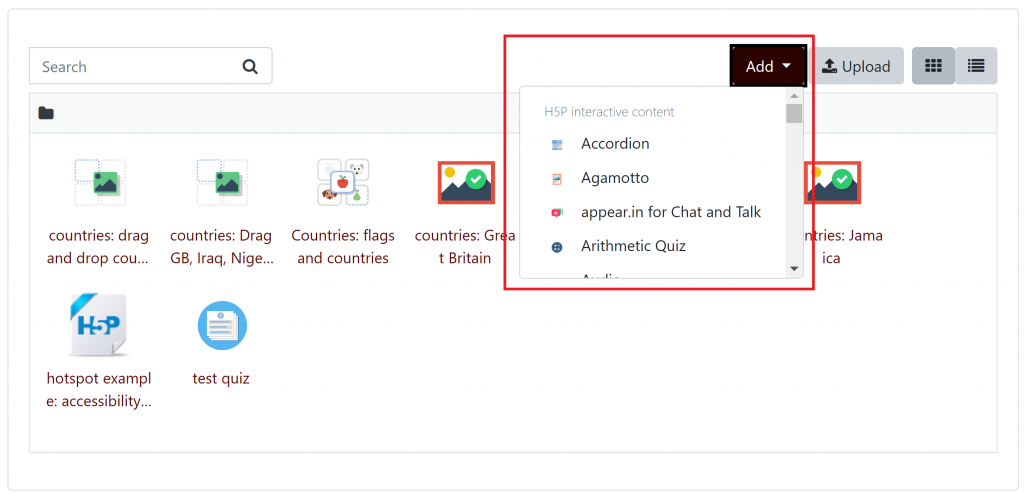
In your content bank you can see previously created H5P content along with an “ADD” button with a dropdown menu that allows you to select what kind of H5P content you wish to make.
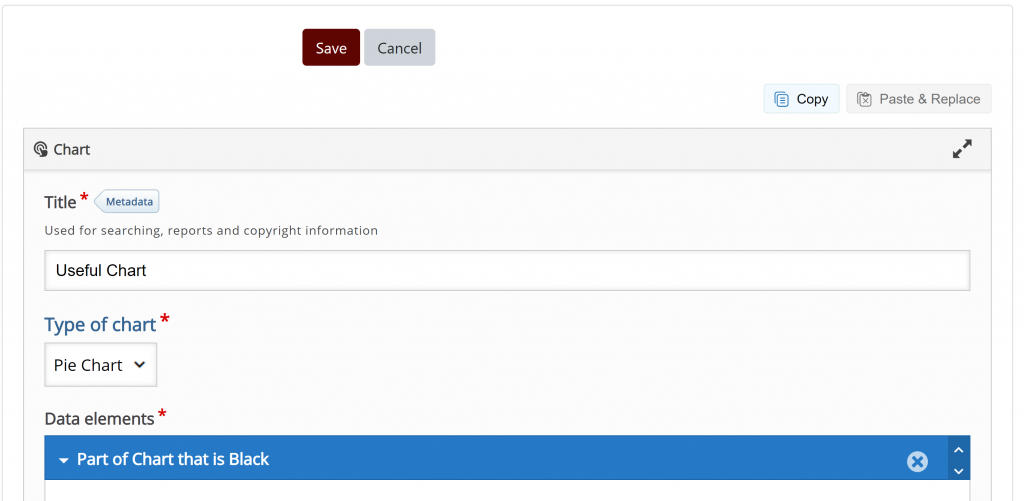
After selecting the type of content you wish to make it will take you to the creation page for that content type. From here you can fill in the elements of your content. When you are finished creating your content you can press the “Save” button. This will create your new H5P content and add it to your content bank.
From here you can return to the activity creation page and press the file selection button which will open up the file picker.
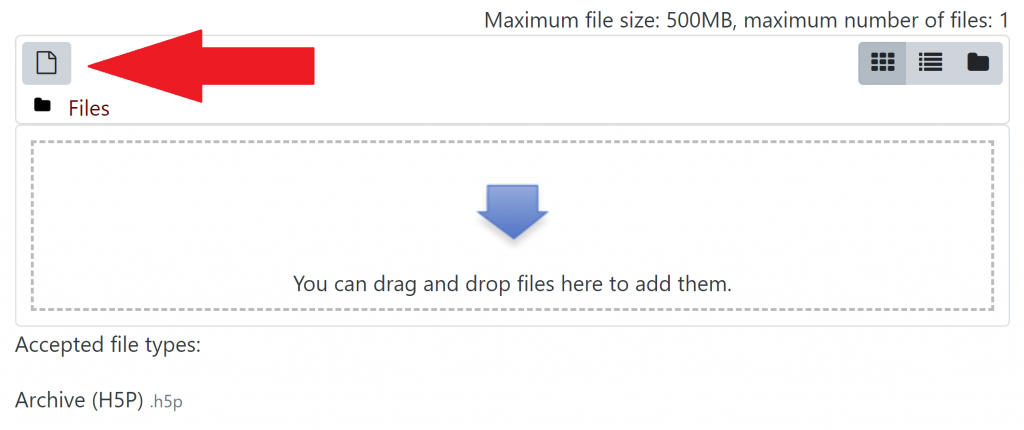
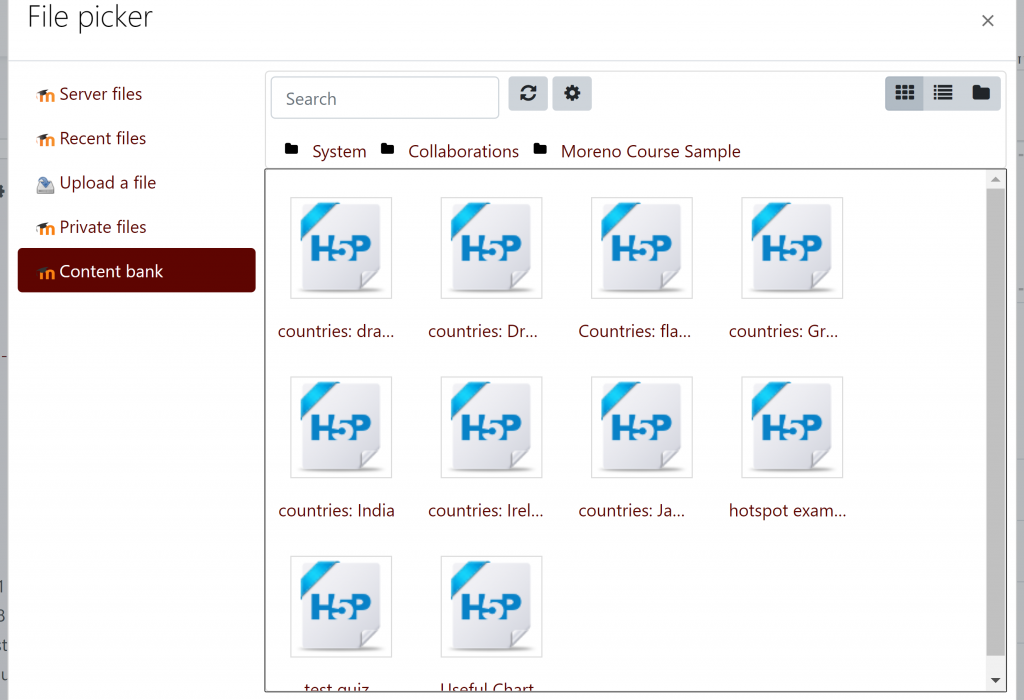
In the file picker you can select “Content bank” on the left of the window to bring up the H5P content in your content bank. You can now select the H5P content that you just created and add it to your activity by selecting it. For information on the different types of H5P content in Moodle you can look at this page.
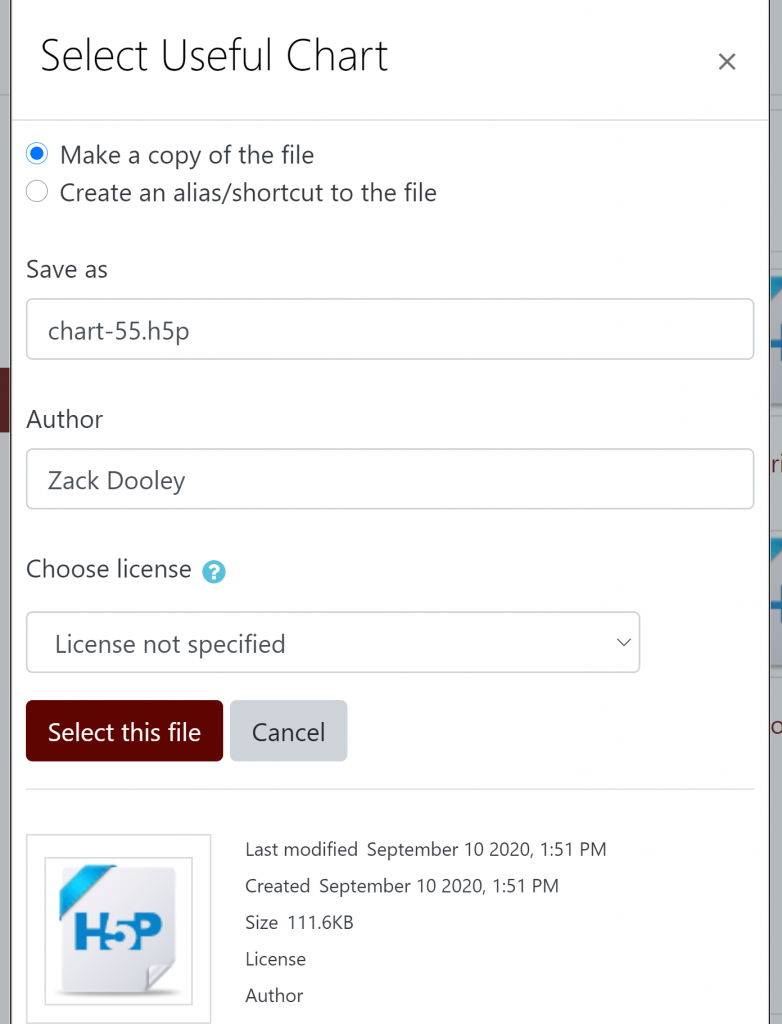
Selecting the file in the file picker will bring up another window with some more file options, press the “Select this file” button to select the file.
You can now select the “Save and return to course” button to create your new H5P activity.