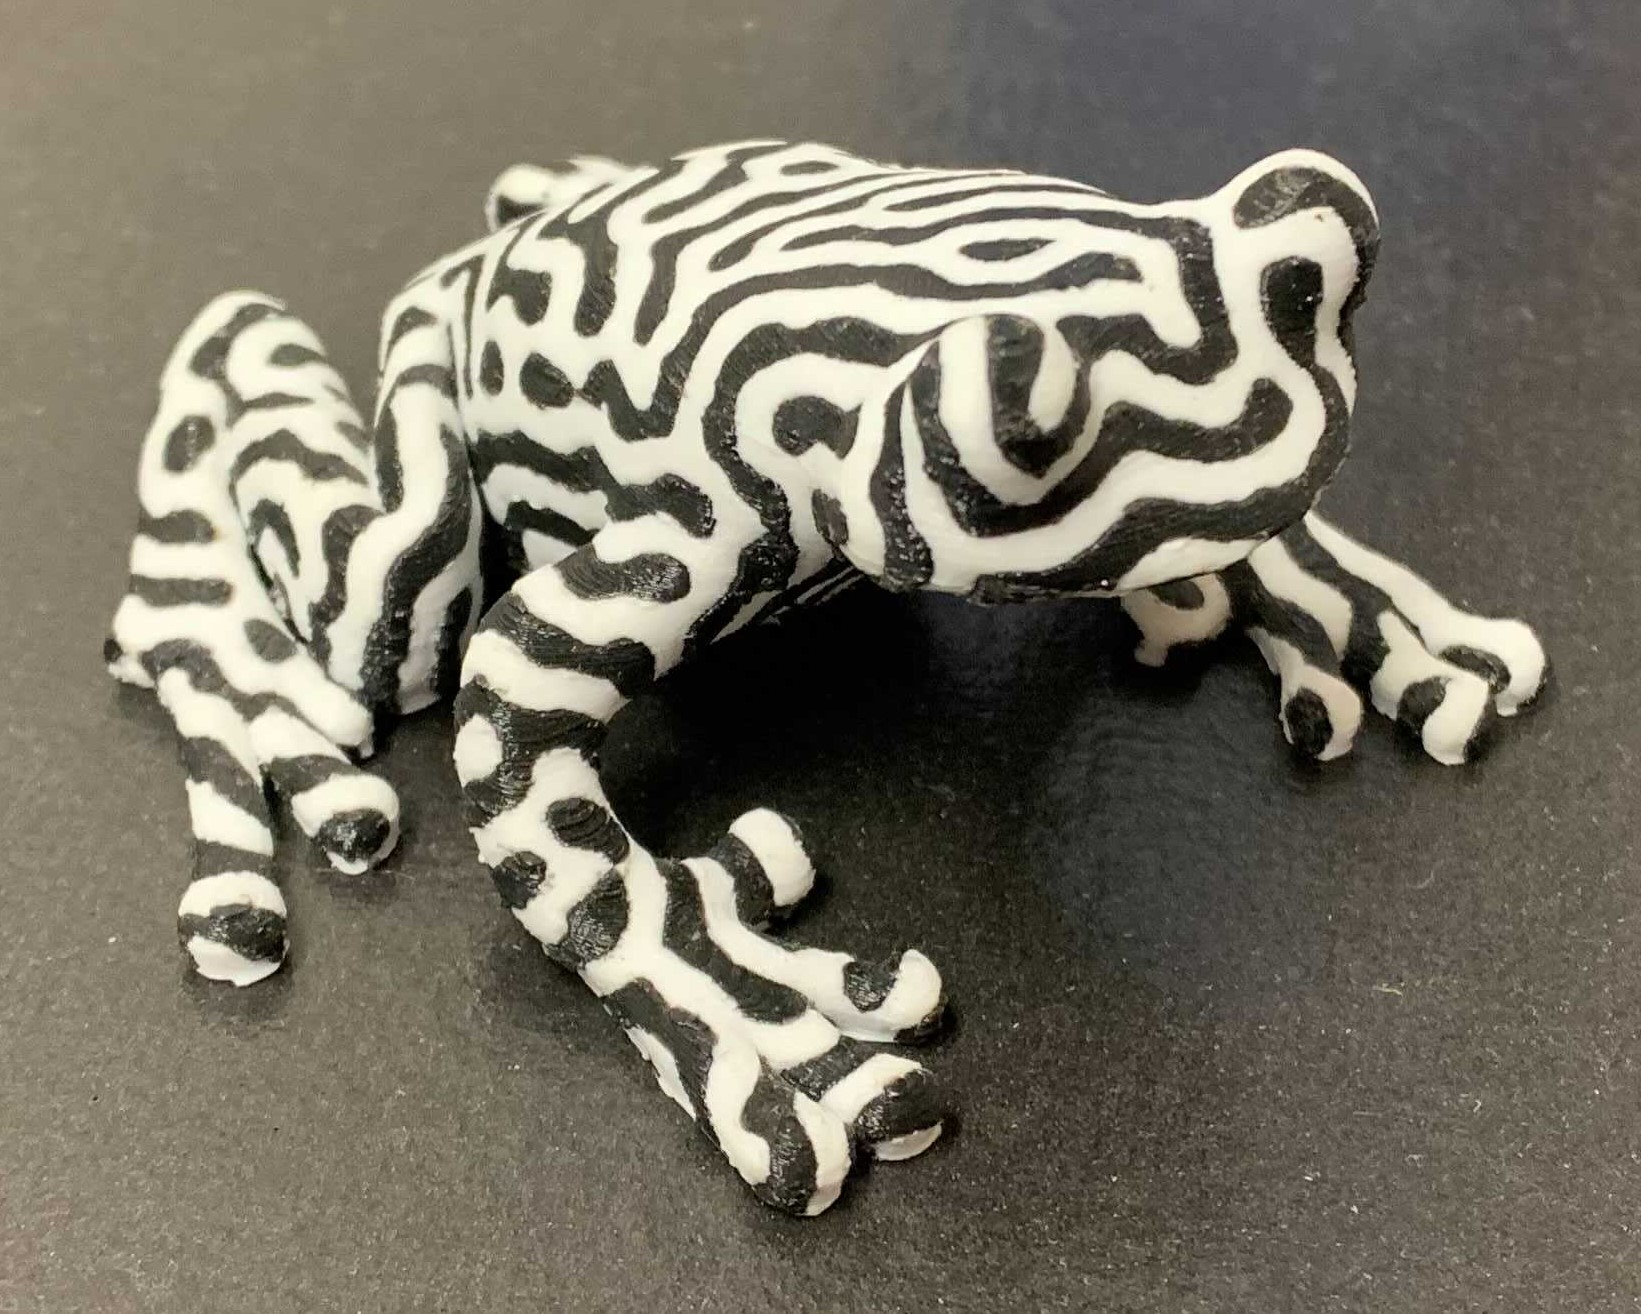
Both 3D printers in the fabrication lab come equipped with dual filament printing heads that allow for a variety of effects including printing in multiple colors, multiple transparencies, or printing with dissolvable supports. Here are the steps required to make use of this process.
- In Fusion 360 or other CAD software: make the parts of the model that you want to use different filaments for into separate components (Skip to step 3 if you already have your files)
- Export both components separately as stls with the unit type set as mm (tools>make>3D print – fusion 360)
- Open Cura and import the separate files for each part of the print that you want to be printed with different filaments
- Make sure that you have selected the correct printer (upper left corner) and that the materials you want are set up correctly (Talk to Jay Ewing to make sure that the filament is set up how you want it to be in the printer)
- Assign the correct materials to the correct components
- To select different materials for different parts of the model, right click on one of the models and select which extruder, and consequently which filament, you want it printed with
- To select different materials for different parts of the model, right click on one of the models and select which extruder, and consequently which filament, you want it printed with
- Select both components (shift click) and then right click and select “merge models” (Ctrl+Alt+G)


NOTE: Try not to move the models around before merging them, as it may mess with the merging process
- Make sure that the two components together are aligned how you want them to be for printing

- Adjust the print settings if necessary and slice your model
- Export to a usb and plug that drive into the printer
- Double check that the materials and printer are set up as you expect them to be
- Print!
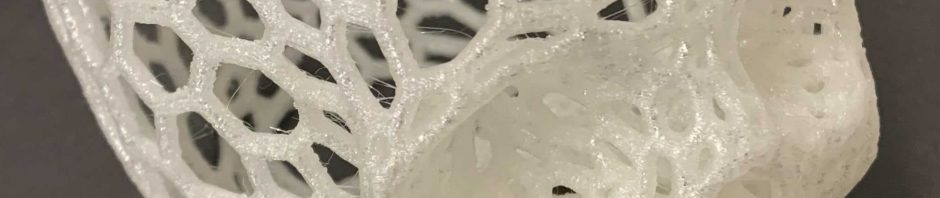
Printing With Dissolvable Supports
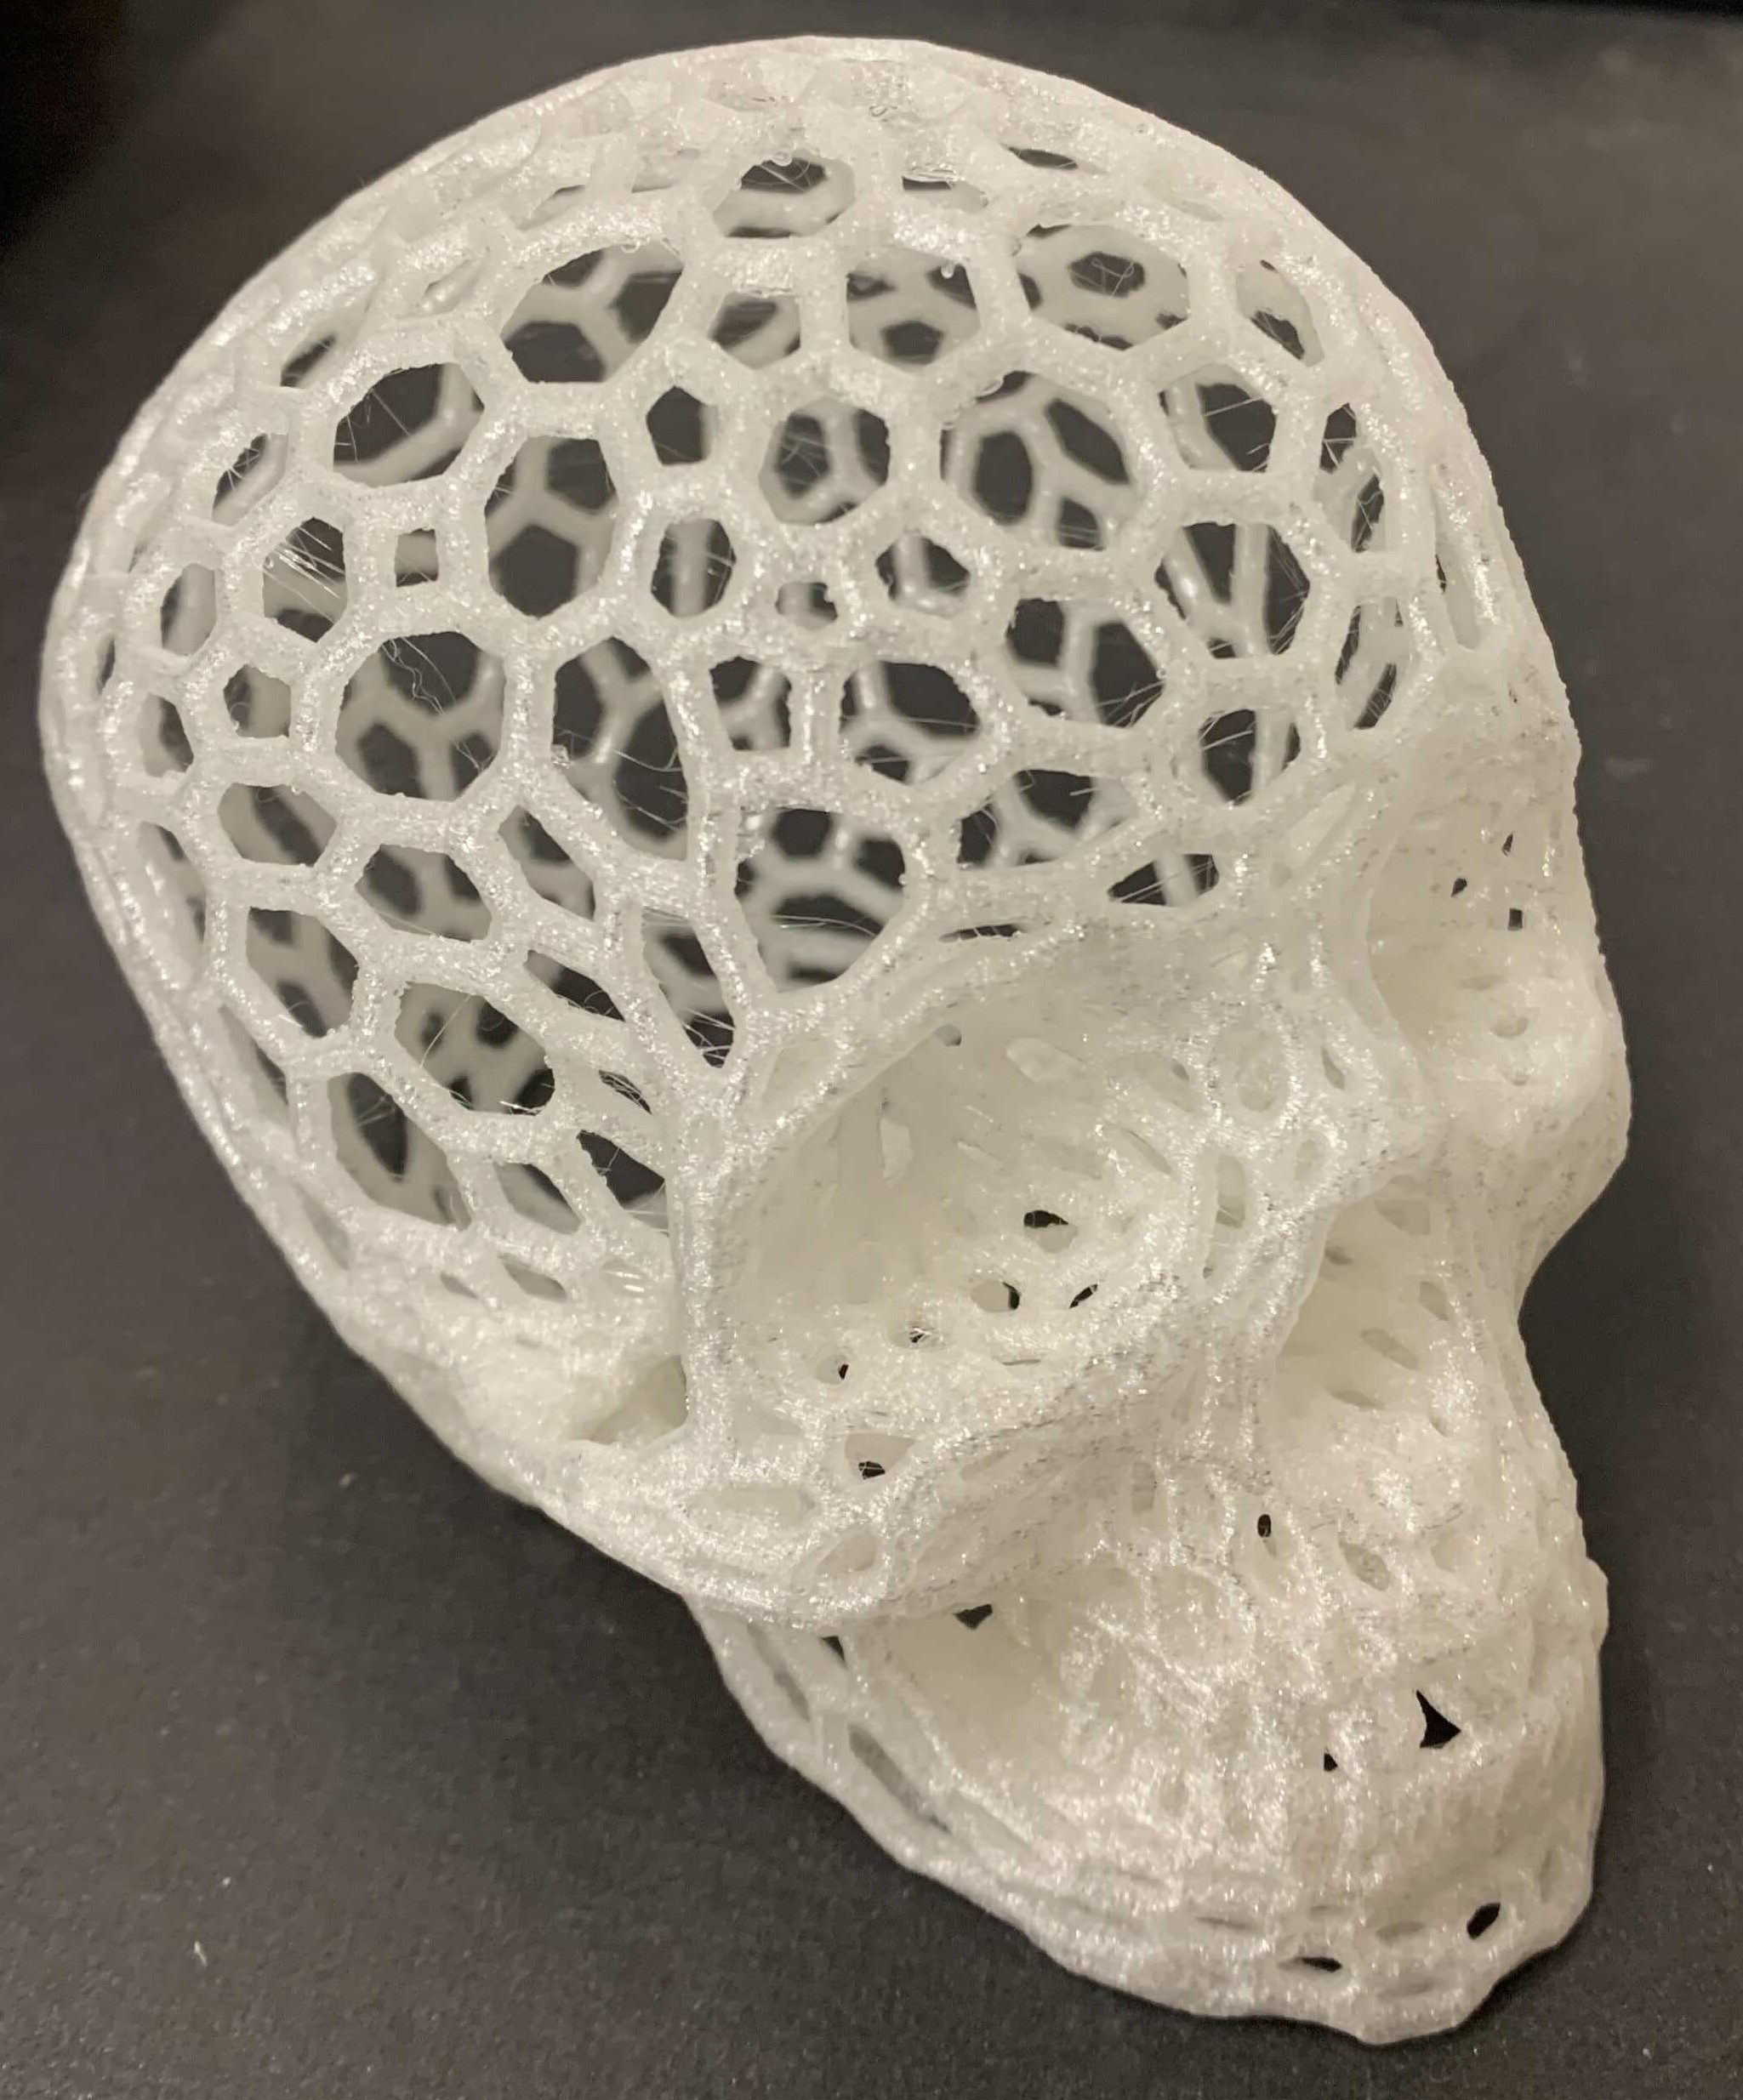
Printing with dissolvable supports is a great way to print complicated models without having to go through the arduous and sometimes destructive support removal process. With dissolvable filaments, you just place your model in water after printing and no matter how intertwined the supports are with your print, they will dissolve away, leaving just your model left.
- Import your model into Cura
- Make sure that you have selected the correct printer and that the material for extruder 2 is set as “Natural PVA” (this is the dissolvable filament)
- Select the extruder settings at the top of the screen
- Select extruder 2
- Under the material drop down menu select Ultimaker>PVA>Natural PVA

- Under Print Core select BB 0.4

- In the print settings scroll down to the support menu and make sure generate support is selected
- Select Extruder 2 as the support extruder and make sure the rest of the support settings are how you want them

- Make sure the rest of print setting are how you want them, and now your model should be ready to slice and print
- After your model has finished printing, talk to Jay Ewing about the proper process for dissolving the supports and drying the model (NOTE: this may take multiple days depending on the model and volume of the support structure)