H5p can be created by logging into your blog, then going to your blog’s Dashboard. If you are viewing your blog, click on the Dashboard icon at the top left of the screen (see the image below for the Dashboard icon..
Choose H5P Content from the side bar, then choose the “Add new” button. Select the H5P experience you want to add to your blog.
Choose the content type you want to add. Each content type is different, so you may be presented with different choices, depending on what you want to do.
Regardless of the content type, the process is the same for each content type:
- Create your content type.
- Save your content type.
- Copy the shortcode.
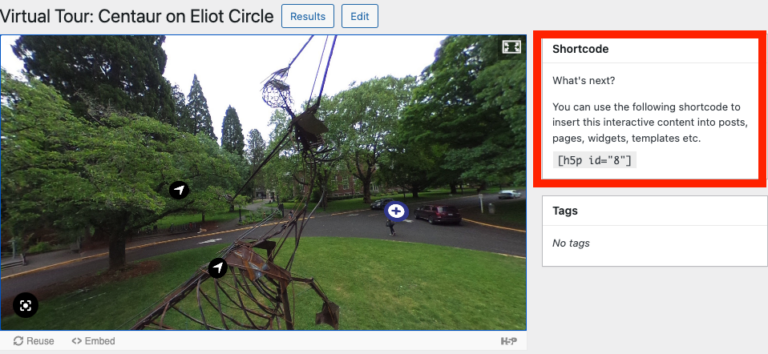
While viewing your H5P content, you will see a Shortcode area to the right. Copy the whole shortcode, including the brackets. In the screenshot below, the shortcode was copied. Make sure to include the brackets.
- Create a new page or edit an existing page. You can usually paste in the shortcode into an empty paragraph block, but otherwise you can choose a Shortcode block, and add the code there. Click the publish button to view the H5P content now in your page.
You can edit your H5P content at any time, and the page/post that it is embedded on will update automatically.

