Recording a Video of Your Mac Screen Using QuickTime

To record your Mac’s video display:

  1. Go to the QuickTime Player application.Choose File/New Screen Recording.

    If you want to record audio (such as a voiceover) while you’re recording your screen, click on the small icon next to the record button, and select the appropriate Microphone source. Otherwise, audio recording won’t occur.

  2. Choose if you want to record all your screen, or a portion of your screen (options are highlighted in red below), then click on the Record button.


  3. Click on the Options menu.

    Choose the appropriate audio source, which should be your built-in microphone, unlesss you have an external usb microphone.
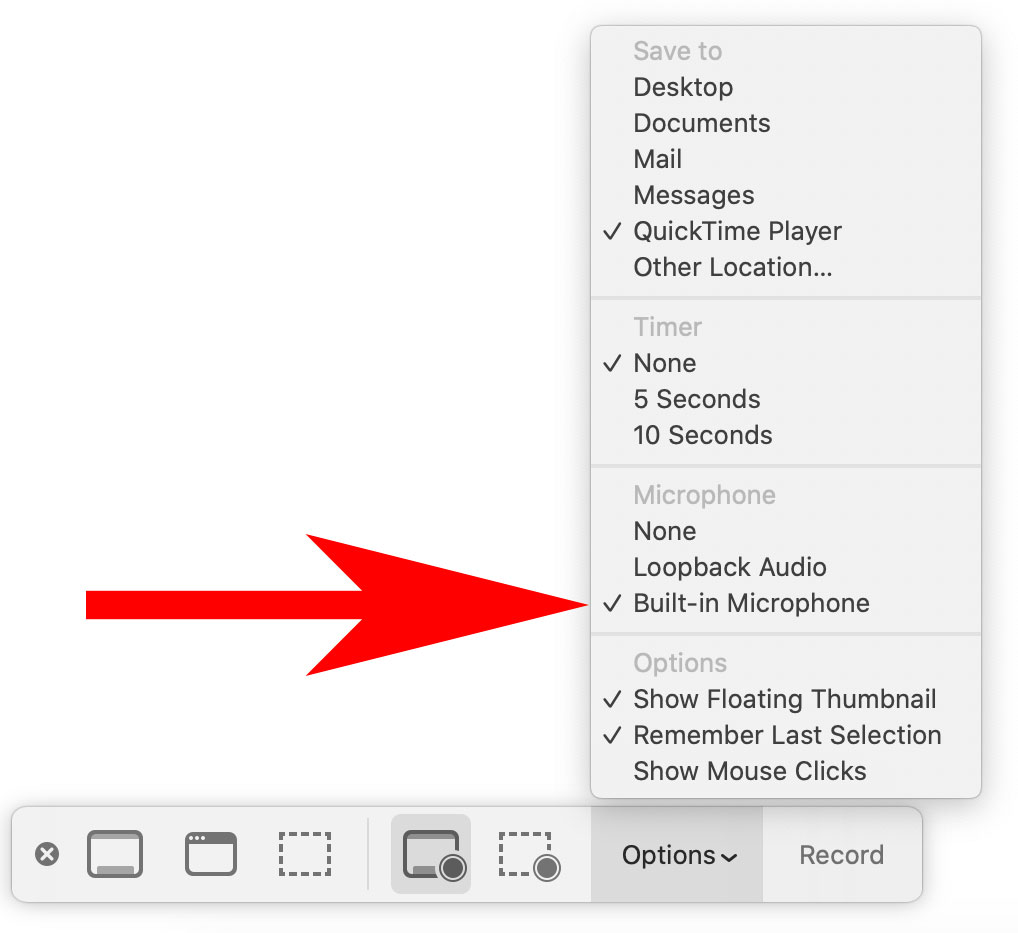
  4. Go to the application you want to record the screen activity.

After you’re done recording your screen:

  1. At the top of your screen (to the right of Finder menu items), click on the black square, which is the button to stop the QuickTime recording.

    Save your video file. Trim the clip either in QuickTime Player or iMovie.
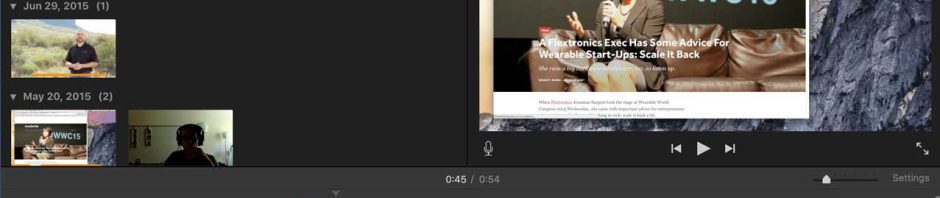
Quick tip: For any screen recording, remember that any motion on the screen will draw your viewer's attention. Minimize your mouse movements to only those necessary to draw the attention to an important part of the screen, or an action that needs to be taken. 

Screen Capture and Screen Recording Quick Tips:

If recording your screen, clean up your desktop to have your viewer have less distractions, which will help them focus on your content.

  • Try to minimize your mouse movements to only those movements that are important to capture.
  • Temporarily put all your desktop items into one folder, ideally in a location away from the desktop.
  • Temporarily make the desktop background image a solid color.
  • Hide your dock.
  • Choose full screen (if it’s available) with the application that you’re going to screencapture.
  • If you’re recording a browser, close out any tabs that you won’t be using for your screencast or screen capture, and hide any bookmarks.
Note: This will record a video of your Mac's screen, but not audio that may be streaming on a web browser; to record both video and audio, please view this page.

Screen Capturing your Mac Computer Screen

You may need to take a screen capture (or screenshot or grab; different terms, same idea) of your Apple’s desktop or laptop’s screen. Apple has a screenshot page that lists this info. Here’s  the two most basic and commonly-used commands.

Copy your entire screen

  • Shift-Command-3

Screenshot of a portion of your screen

  • Shift-Command-4; click and drag the crosshairs to isolate the content.

 Note: If you're wanting to record your screen rather than take a screen capture, visit the "Recording a Video of Your Mac Screen Using QuickTime" help page.

Screen Capture and Screen Recording Quick Tips

If screen recording or screen capturing any part of your screen, clean up your desktop to have your viewer have less distractions, which will help them focus on your content.

  • Temporarily put all your desktop items into one folder, ideally in a location away from the desktop.
  • Temporarily make the desktop background image a solid color.
  • Hide your dock.
  • Choose full screen (if it’s available) with the application that you’re going to screencapture.
  • If you’re recording a browser, close out any tabs that you won’t be using for your screencast or screen capture, and hide any bookmarks.

Jing and Screencast

Before I discovered Jing, for over 10 years, I had been using a different program to capture images on PCs. As stubborn as I could be, I had no doubt that I needed to say goodbye to my old…

Before I discovered Jing, for over 10 years I had been using a different program to capture images on PCs. As stubborn as I could be, I had no doubt that I needed to say goodbye to my old friend and to adopt Jing to do the capturing work, especially for video capturing. The image capturing function in Jing is also great, but some of the Mac users may find it just as easy to use command+shift+4 to capture the piece of the screen you want. In this post, I will briefly introduce image capturing in Jing, but mostly focusing on the educational uses of Jing’s video capturing function.

Continue reading “Jing and Screencast”