Menus
Menus can have links to external webpages, pages or posts you’ve crated, and category links that you’ve tagged your pages with, among other things. You can also change the text of the link as well.
Creating Menus
You can create a menu by going to your dashboard, then choosing Appearance/Menus. Or, you can click on the Customize menu at the top navigation bar, choose Menus, and click Add a Menu. Afterwards, choose Add Items, and add the desired items to your menu.
After creating or editing a menu, make sure to save the menu, otherwise the menu won’t be saved.
Adding Menus to your Blog
There are a few different ways to add a menu as your primary navigation:
- In the Appearance/Menus area, select the menu you’ve created. At the bottom of the page under the Menu Settings section, select Primary Navigation as your Theme location.
- After you’ve created a menu, Go to Customize/Menus/Menu Locations, and choose the menu you’ve created to be your primary navigation. This location should be under your header image.
- After logging in and selecting your blog from the My Sites menu option, select the Customize menu on the top black nav bar.

Choose Menus.

Select Menu Locations.

Choose the menu you’d like to have as the Primary Navigation from the dropdown choices (assuming you have made 1 or more menus earlier).


Sidebar Content (widgets)
You may want to have different items (called widgets) on your sidebar. After logging in and selecting your blog from the My Sites menu option, select the Customize menu on the top black nav bar, then click on widgets.

Select the Primary Widget Area.
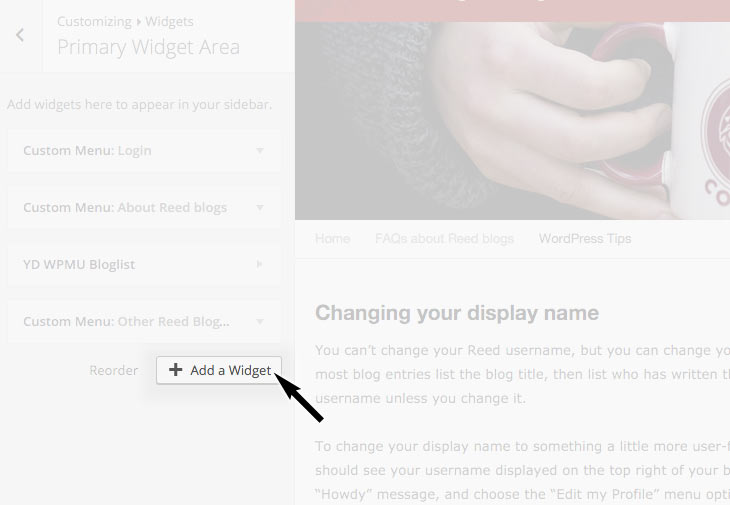
Choose the Add a Widget button.

Click on drag-and-drop items to the widget area (the left column); drag-and-drop to rearrange their order. Popular widgets are Search, Recent Comments, and Recent Posts, Tag Clouds, and Categories.
Custom menus you created earlier (in Appearance/Menus) can also be displayed on the sidebar as a widget.