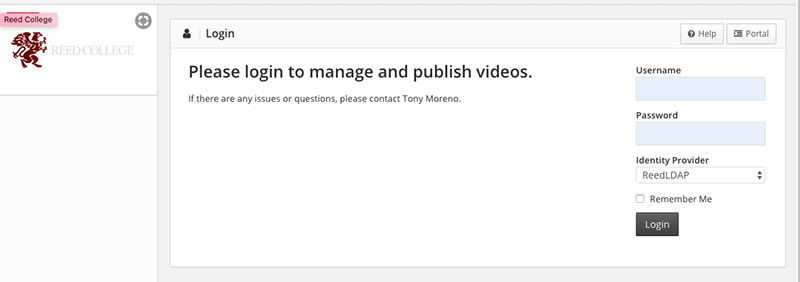
Log in to ensemble.reed.edu. Fill in your Reed login and password, and choose “ReedLDAP” as the identity provider.

You should be dropped into the appropriate library where you can add media.
Note: You may have access to more than one library; make sure to choose the right library from the dropdown menu on the top right of your screen.
- Click on the green Add button to add media.
- Add an appropriate Title to your media. Add your first and last name under the “Edit Credits” section at the bottom of the screen, then click on the green Continue button at the bottom of the screen.
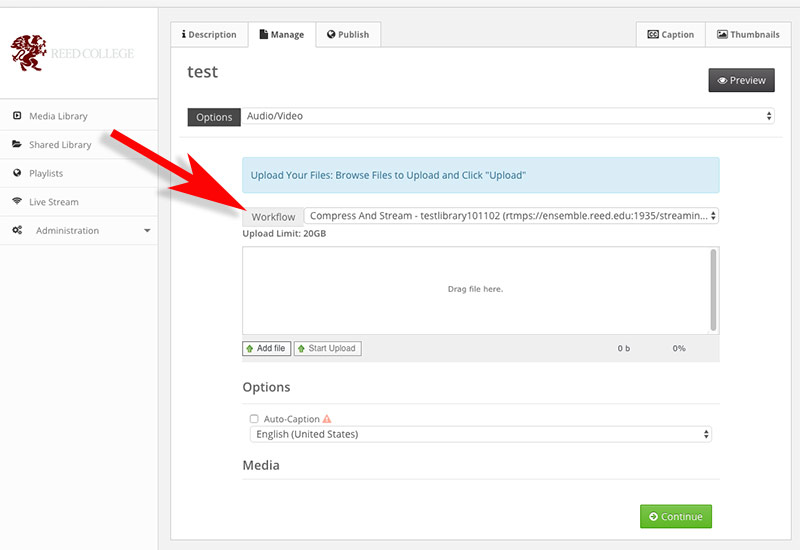
- Choose the appropriate workflow from the dropdown options.
- For audio, choose “audio mp3”
- For video, choose “HD Workflow,” unless instructed to choose another video workflow.

- Click on the Add file button and locate your media to be uploaded, OR drag your media into the “drag file here” location.
- Click on the Start Upload button. Note: wait for the media to upload before moving to the next step. You should see a “waiting for converision” message, which indicates you can move to the next step.
- Click on the green Continue button at the bottom.
- On the next screen, check the Default Category under Library Playlist, then click on the Publish button on the next screen.
Media has now been uploaded to Ensemble. Congratulations!
Next step – link or embed the media
Note: You may have been already setup with embedding your media in your Moodle or webpage; ITS staff will let you know if this is the case; if in doubt or need help, contact Tony Moreno.
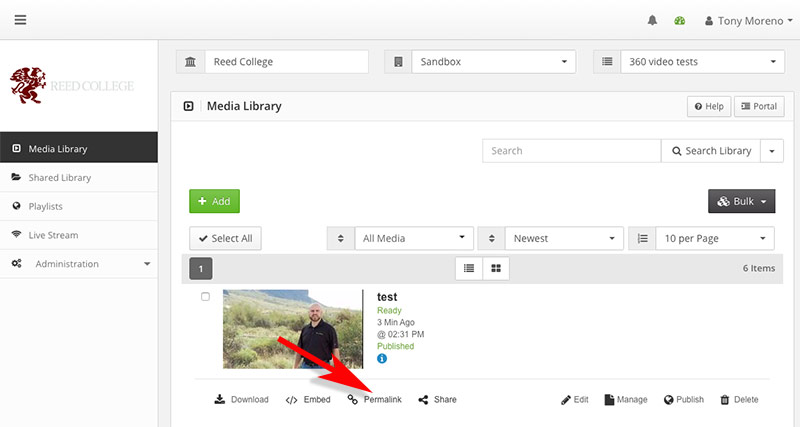
You can either copy the link to your media by clicking on the Permalink at the media homepage. You can share the link in an email or paste it into a Moodle page.

Or, you may choose to embed your media on Moodle or wordpress page. Follow one of these steps:
If you experience any problems, contact Tony Moreno at tmoreno@reed.edu.

