Preview, macOS’s built-in image and PDF viewer, has quietly added many useful features over the years. Earlier this year, we blogged about Preview’s PDF annotation tools.
Preview’s Instant Alpha tool allows you to quickly make parts of an image transparent. You could also do this with other more robust (and expensive) software, but having this capability included in a built-in piece of software on the Mac is very useful. One potential use is removing the background from images in order to insert them in documents or posters. Another potential use would be for artwork or photos you want to manipulate digitally.
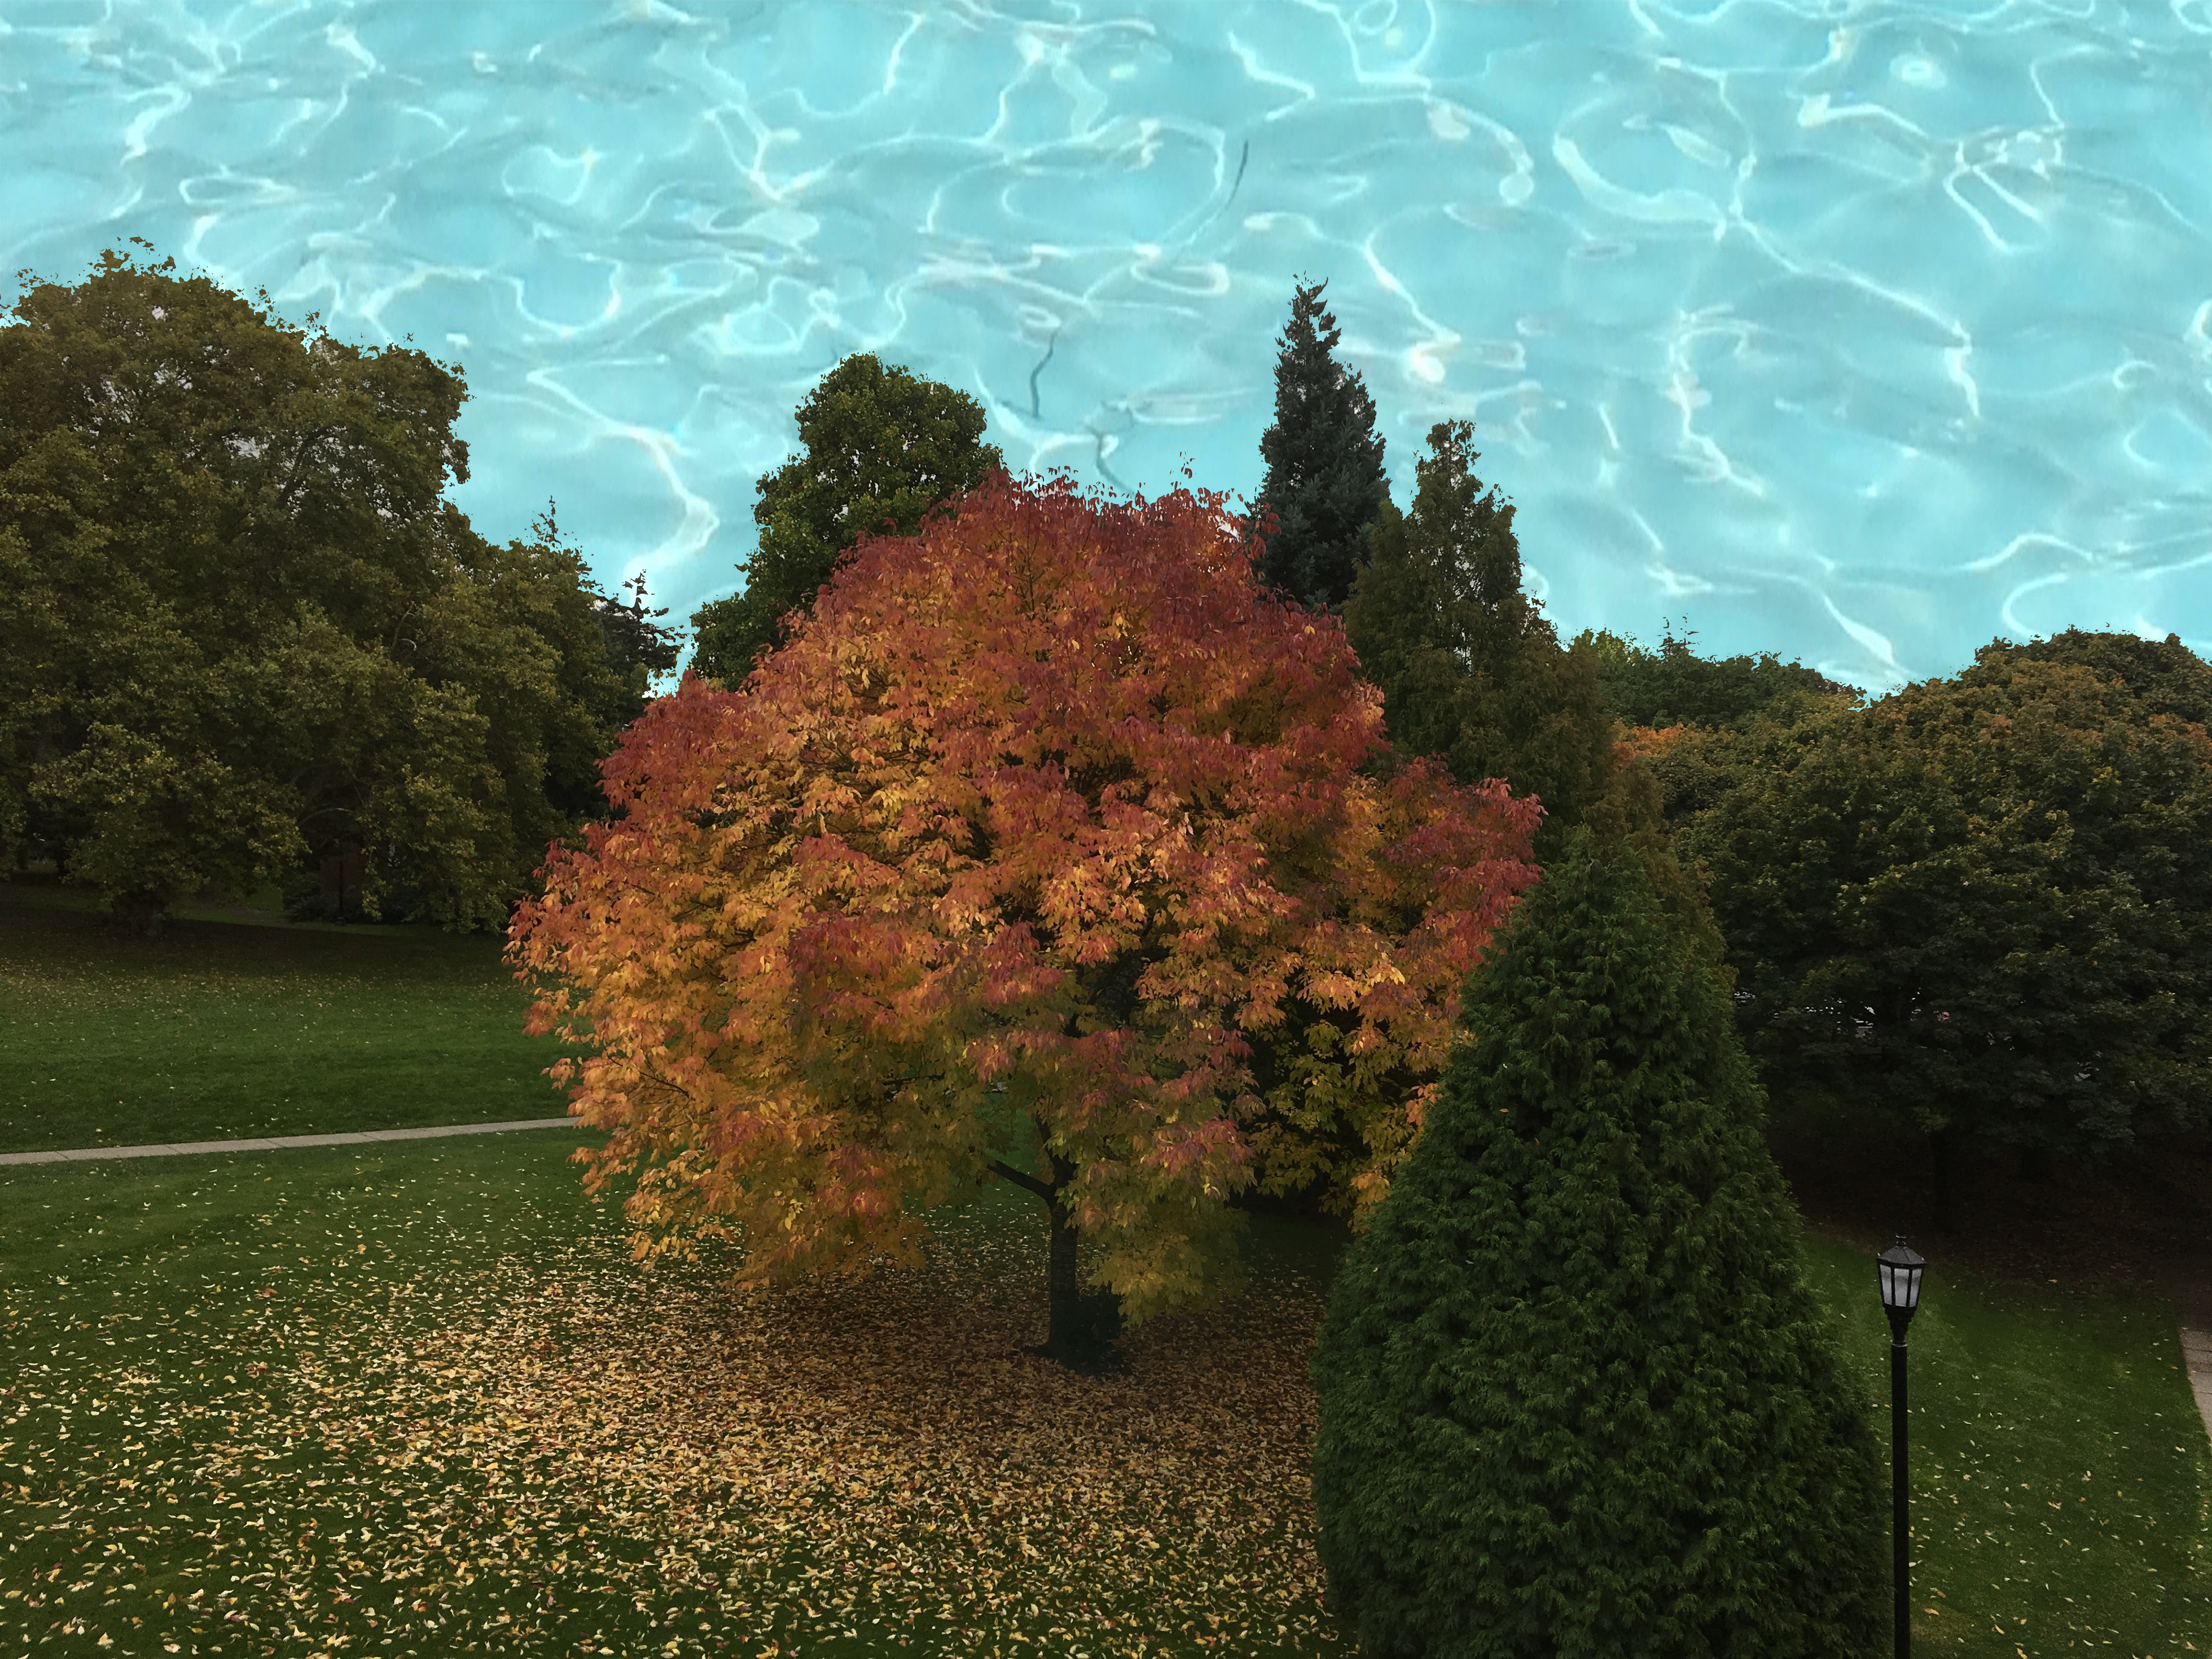
For example, if you wanted to be clever and poetic about how much rain we get here in Oregon, you could turn the sky into a swimming pool. This couldn’t have been done if the sky was not transparent.
If you have a program that shows the color values as numbers, like Adobe Photoshop or Adobe Illustrator, you will see that Alpha White comes in as 0.0 white, which is transparent white. The alpha parameter of a color is somewhere between 0.0 (fully transparent) and 0.1 (fully opaque). Theoretically any color at 0.0 would be fully transparent, and in my opinion the use of white is a bit of a misnomer. If anything they should have chosen 0.0 black for this as black is every color, so 0.0 black would mean the transparency of every color, but I digress. Suffice it to say, when you save your image with any Alpha White in it, in PNG format, the Alpha White areas will be transparent.
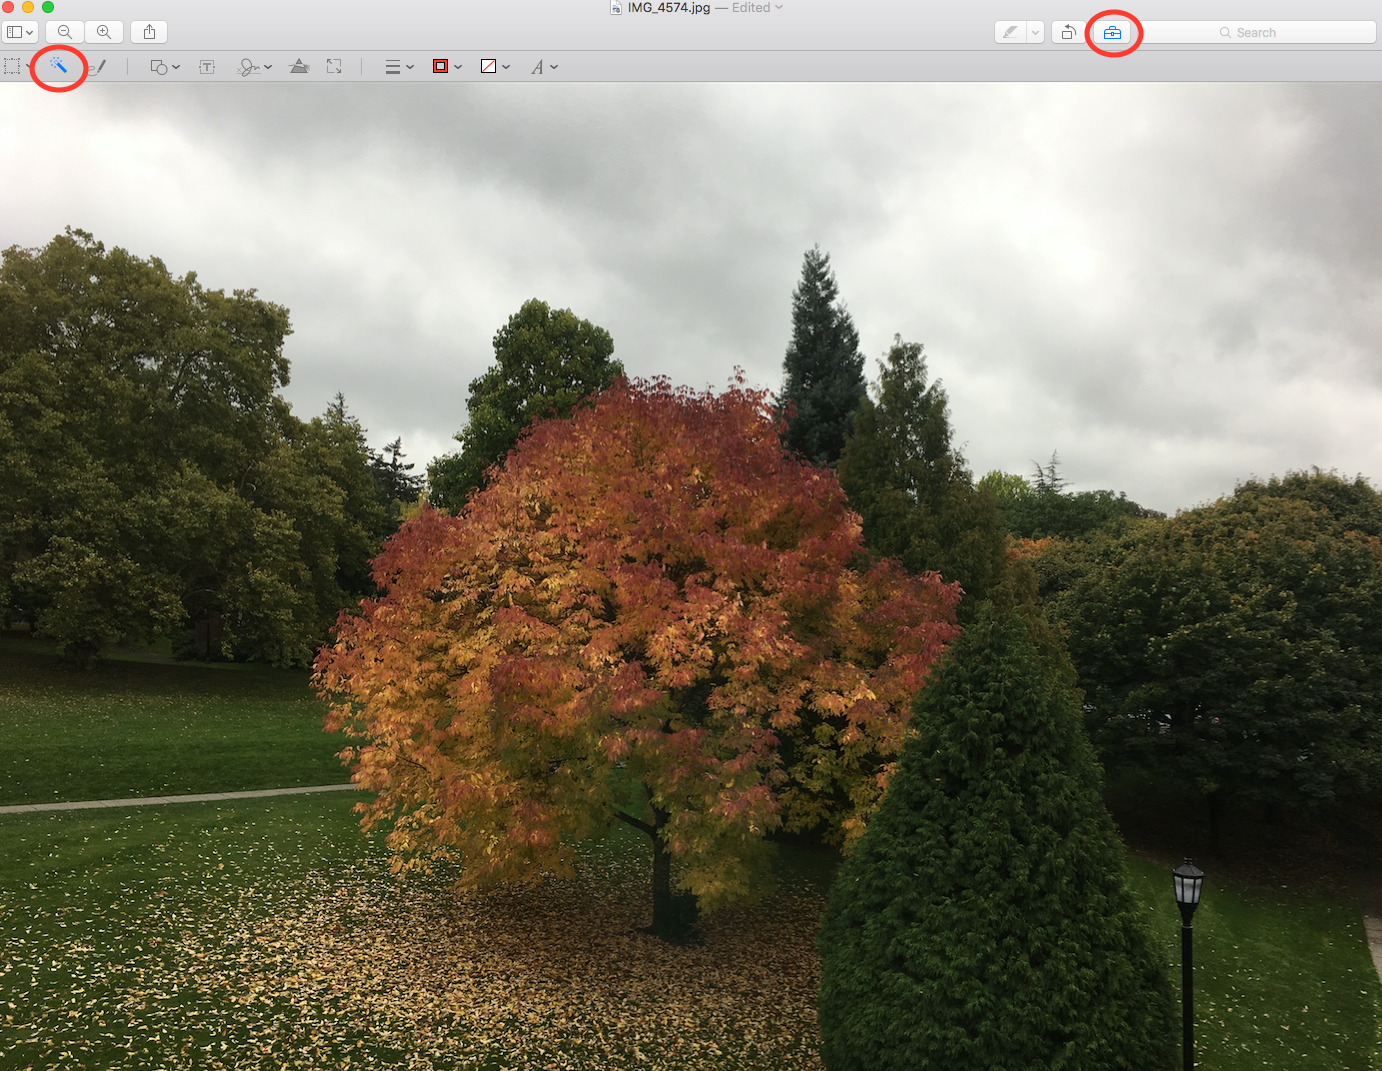
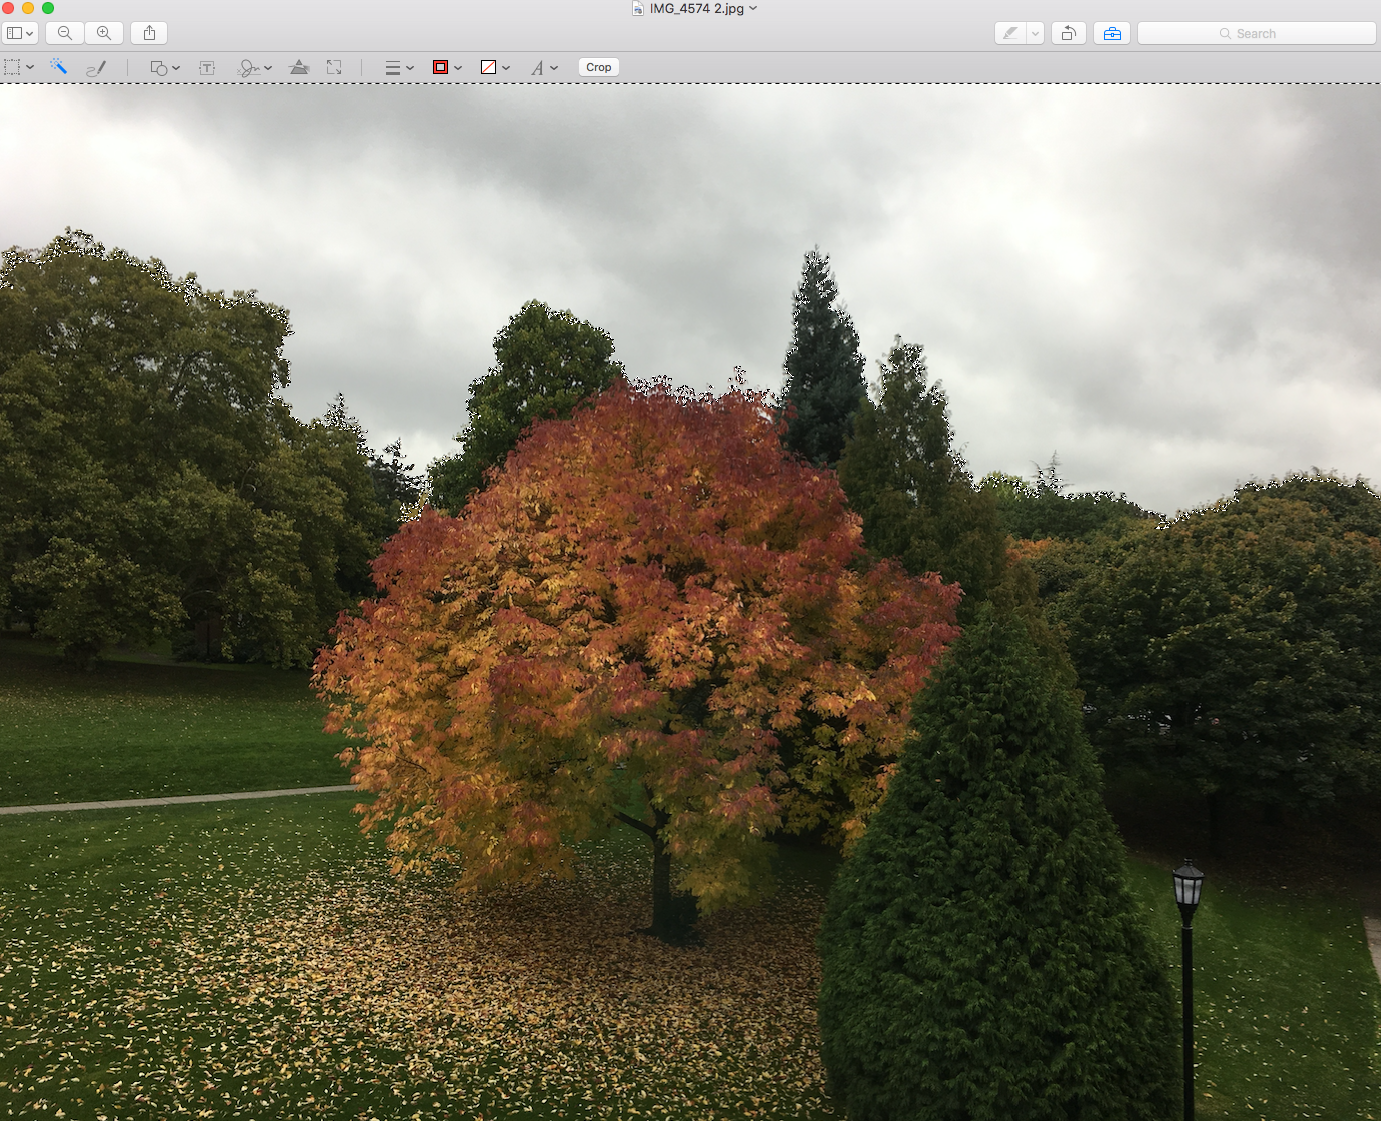
First, open an image in Preview (if Preview is not your default app for opening image files, control-click or right-click on the file icon and choose Open with > Preview)
Next, click on the toolbox icon to the left of the search bar to show the Markup Toolbar and then choose the Instant Alpha tool.
Drag your mouse over an area you want to make transparent. The area that you will remove turns pink. Move your mouse around to expand or contract the pink field and keep it only within the area you want to remove.

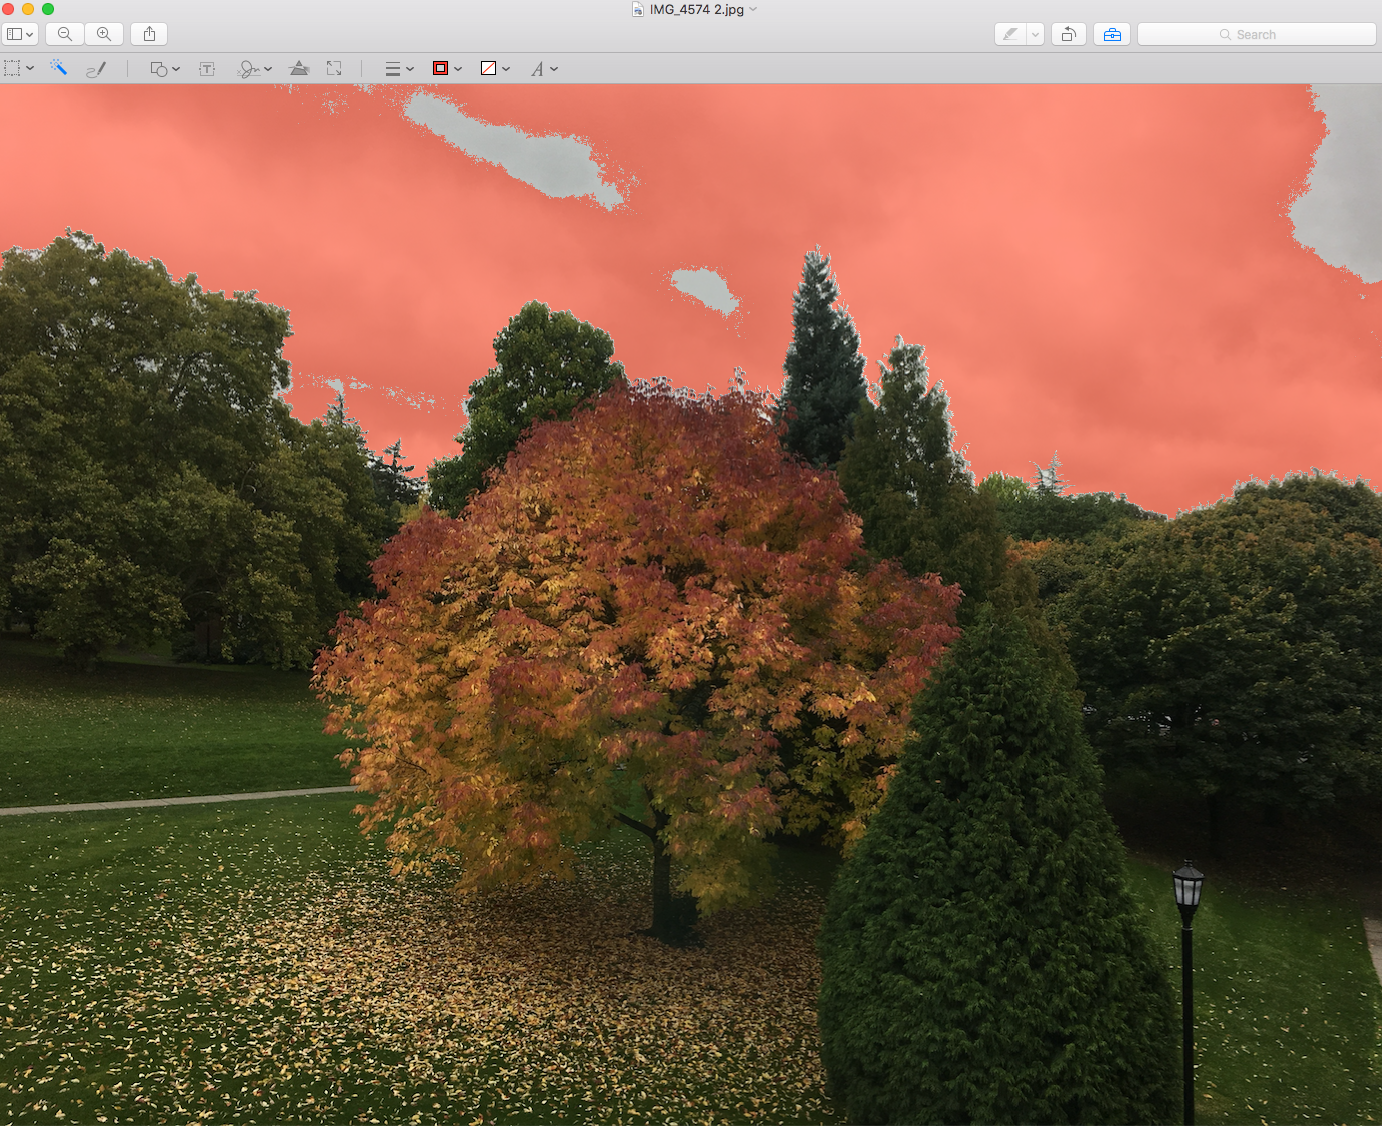
When you are satisfied with what you have chosen, release the mouse and you’ll see the area that was pink change to the “marching ants” line around the perimeter.
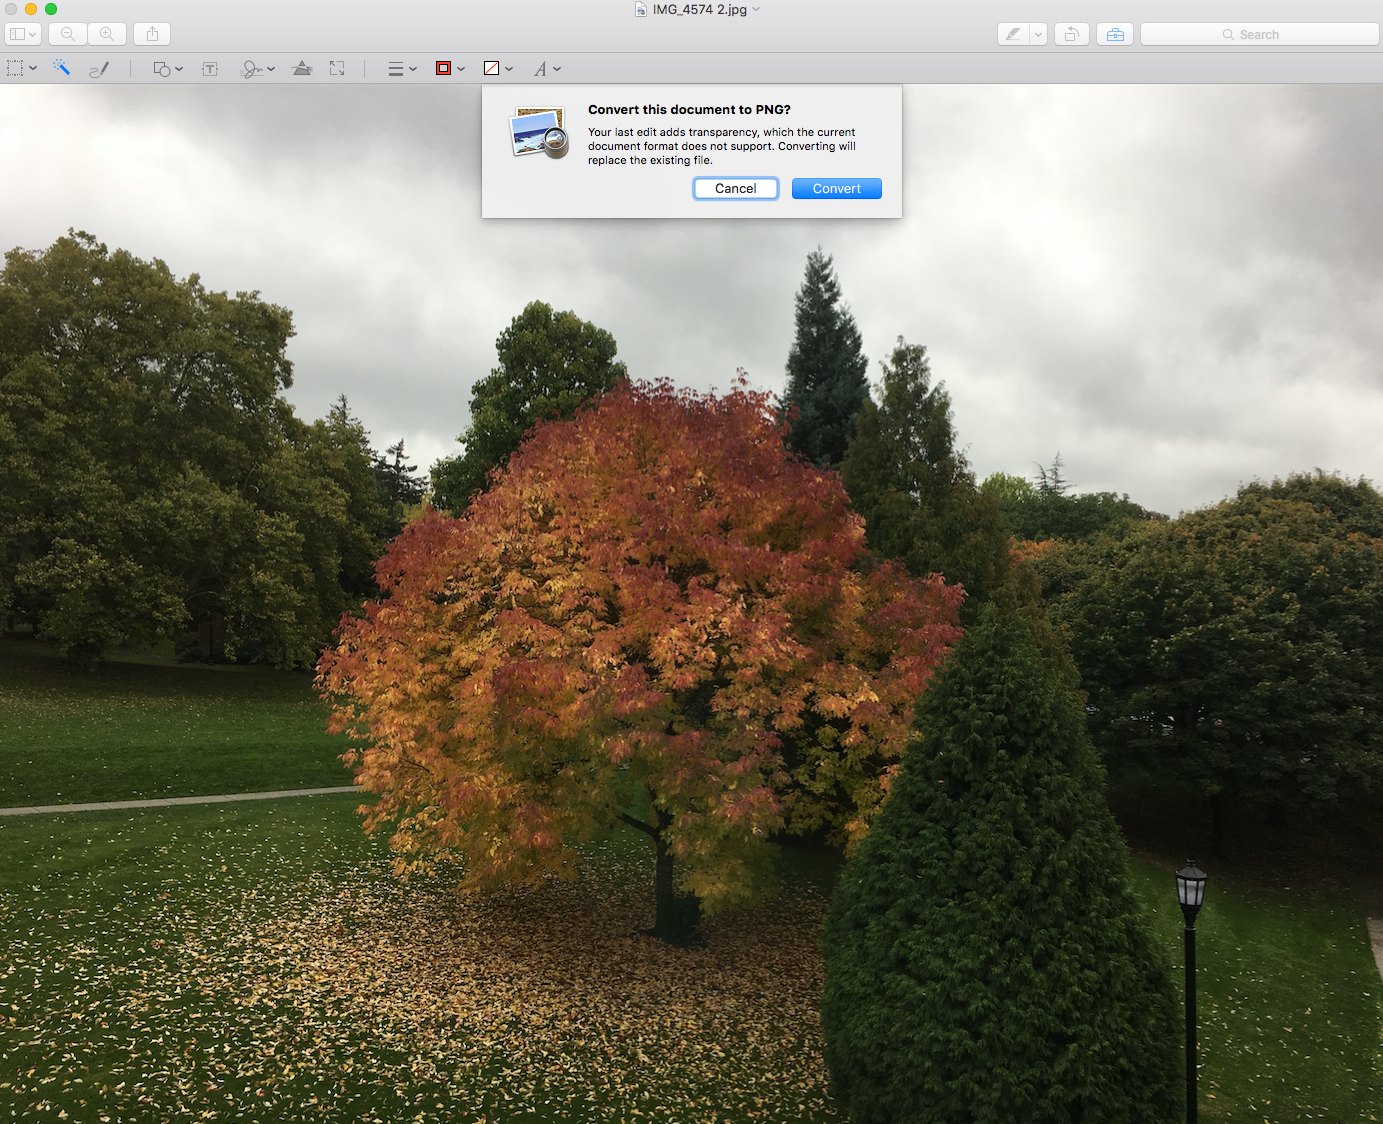
Next, click delete and a dialogue box will ask if you want to convert the image to PNG format. Click Convert.
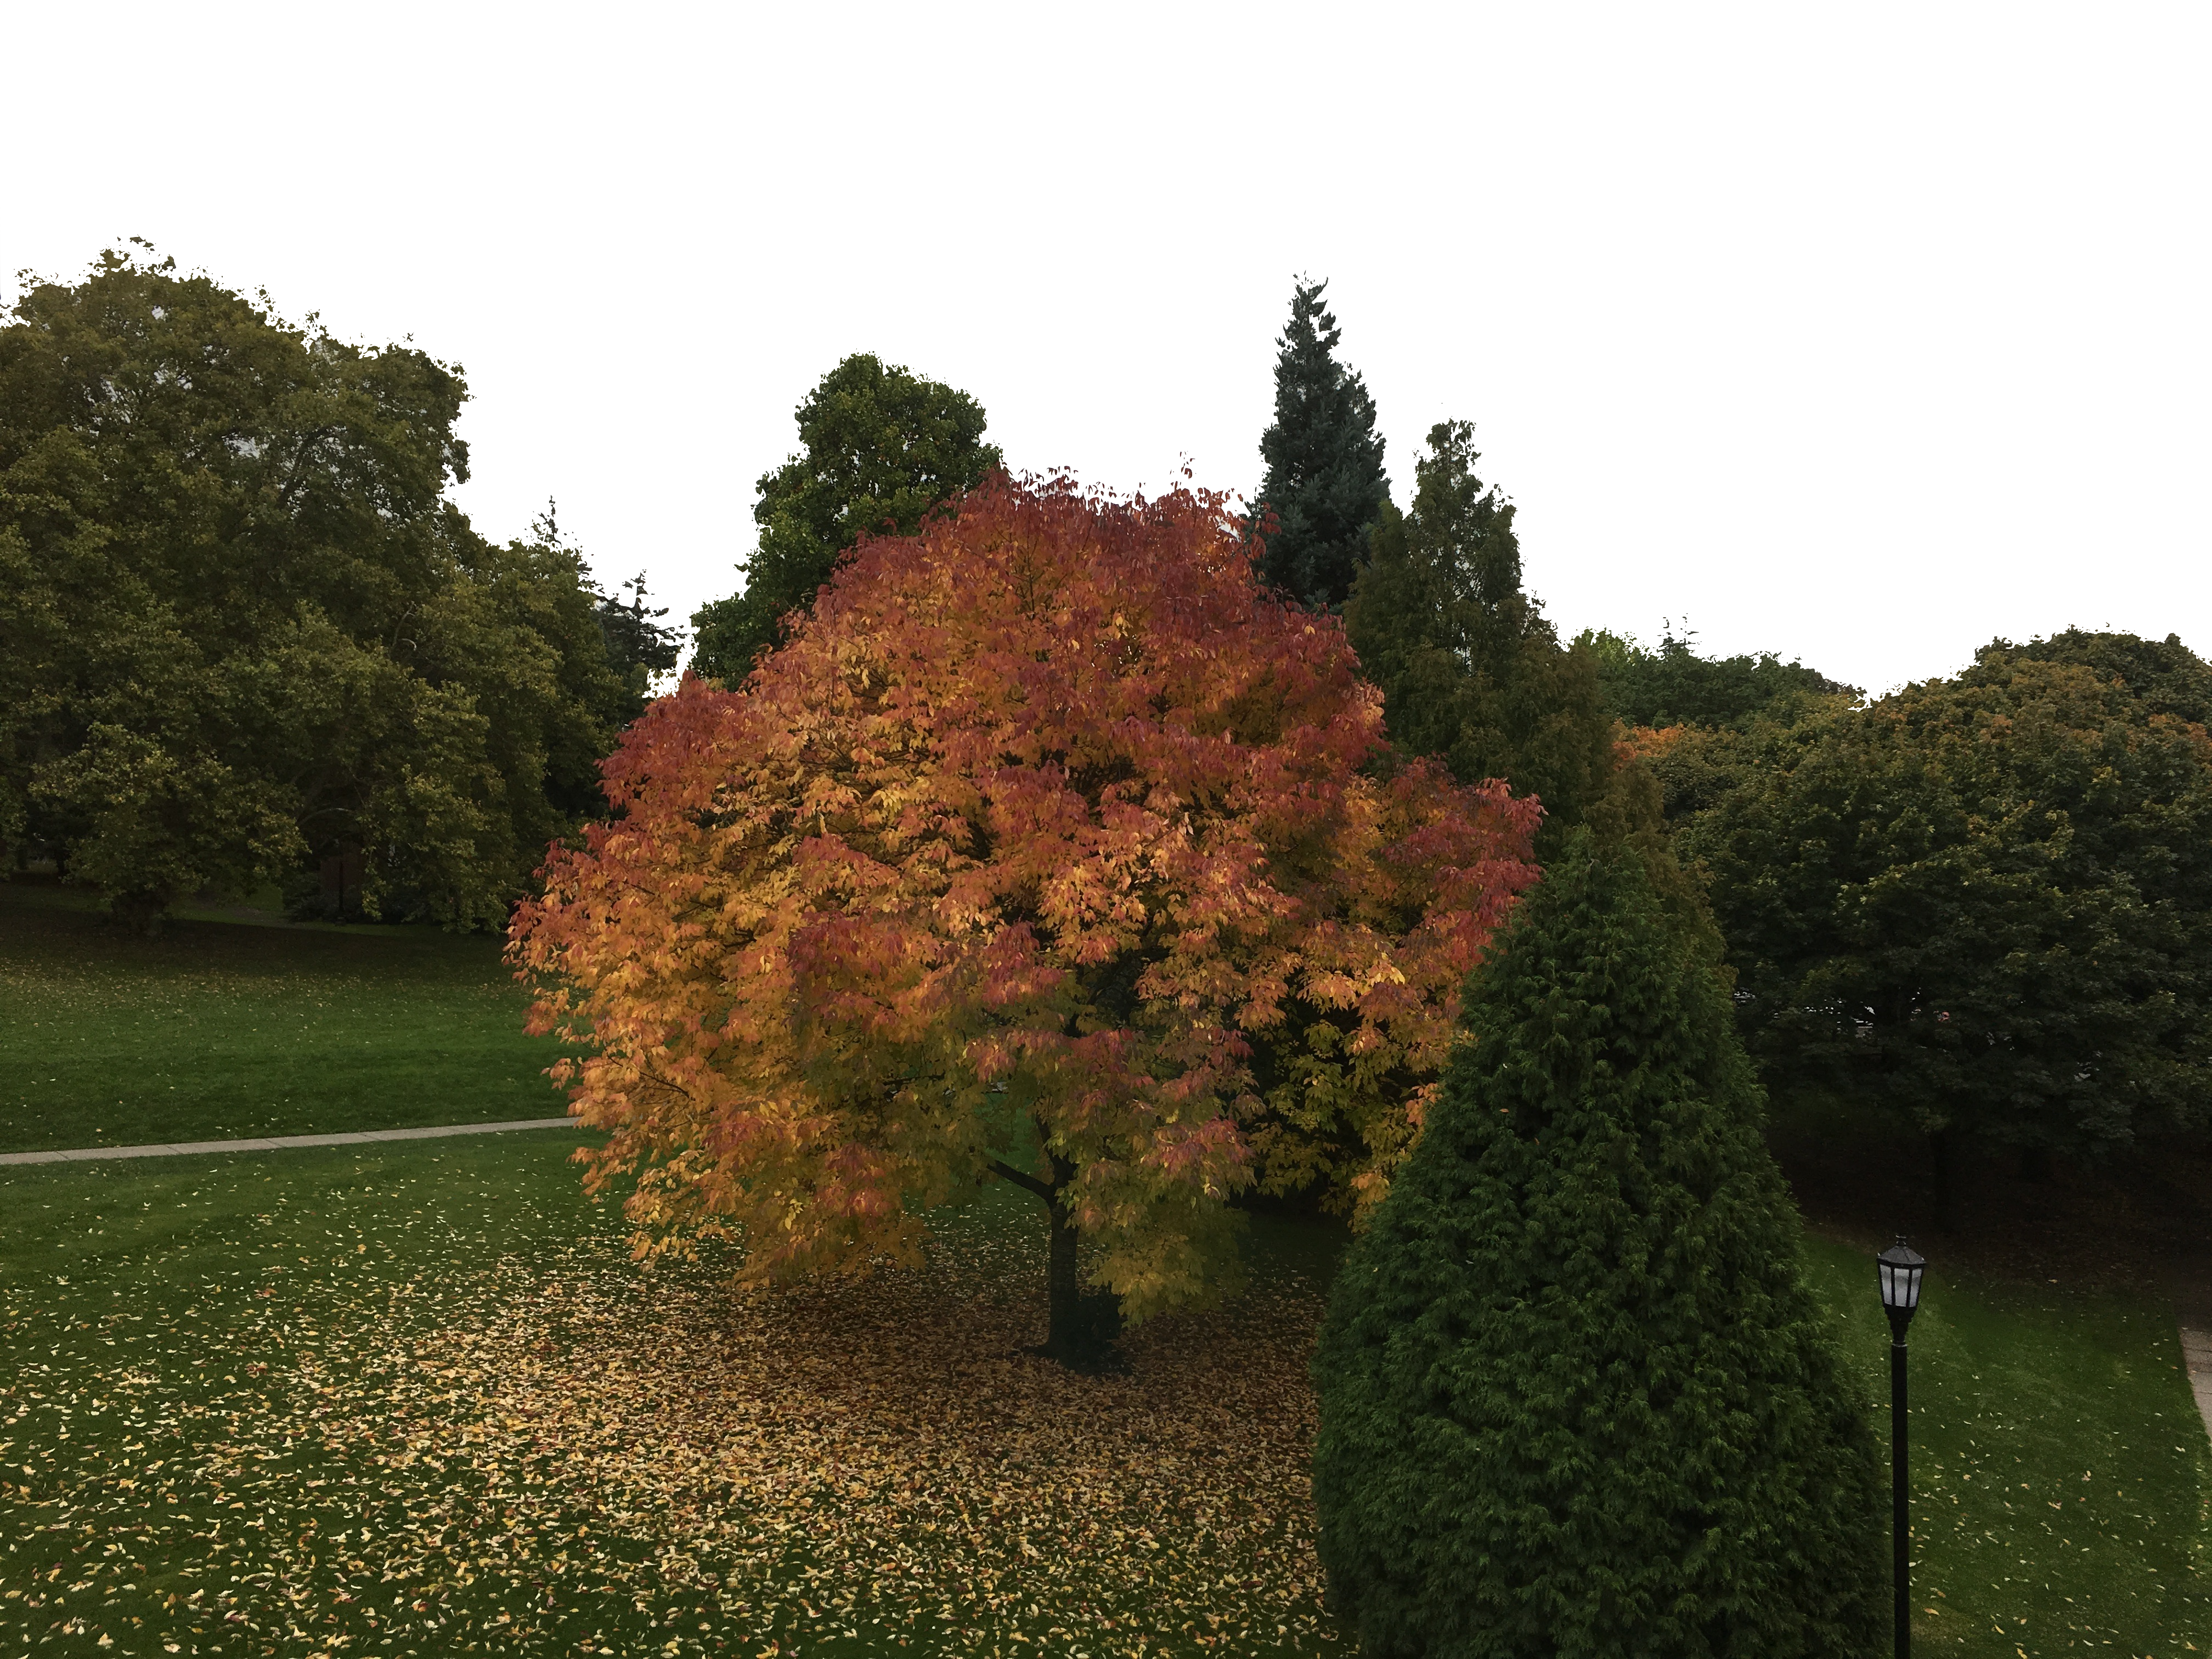
You will now see your image minus the area you just deleted. It will appear grey in Preview but will be transparent when inserted in a document or opened in image editing software like Photoshop.
If you want to get more detailed in your addition of transparency in your image, you could then zoom in on the picture and make more precise edits at this point. Otherwise, you are done! You now have an image with transparency where you want it.